
I really didn't mean to take a blogging hiatus, but when we first moved into our house it was so exciting and there were (ARE) so many projects to work on! Well I'm back tonight, and I've got a project that ranks up there in my top five fave garments I've sewn (sentimentality definitely factored in).
Shopping list:
- Rayon Lawn
- Color Magnet
- Stencil Film
- Wonder Marker
- Fiber Reactive Dye - we suggest using a lighter color for more contrast
- Soda Ash Fixer
- Dharma Professional Textile Detergent
- Link to Tub Dyeing with Fiber Reactive Dye
Let's get started!
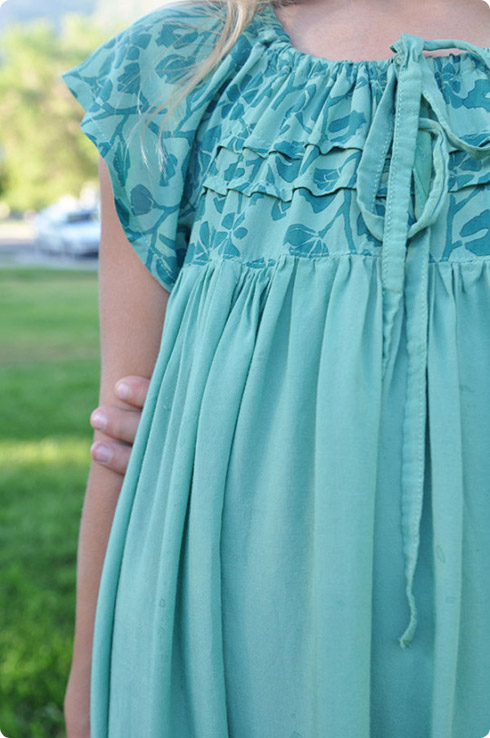
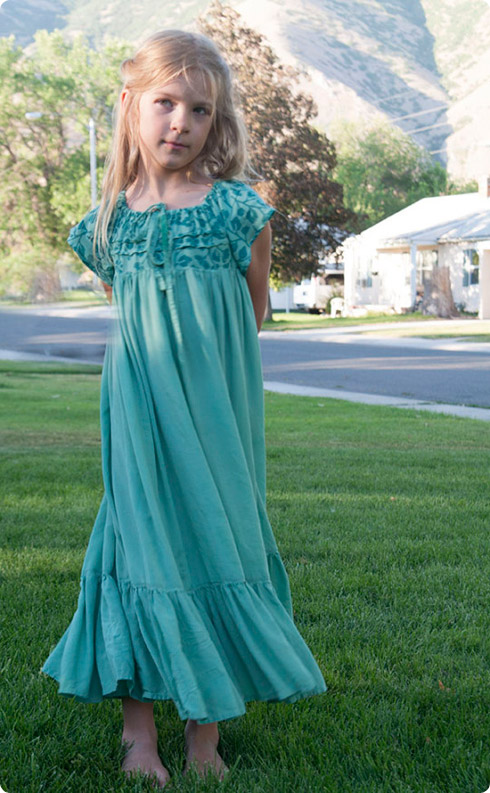
In my family growing up all of us girls had a very special and romantic nightgown somewhere between the ages of 6-10 that was called a Ginny Gown (although we never had anything to do with the dance studio where these originated, here's the story). These long, dreamy, twirly affairs were like a right of girlhood, and I have the most beautiful memories of lounging around in the buttery silky fabric-feeling so luxurious and pretty. So this was a sewing project I've been planning for years, and although I did make Twinkie an earlier edition, it wasn't up to par with my standards of dreaminess. So last Christmas I decided to embark on the project, and decided to go with Dharma's rayon lawn because it's so buttery and light and drapey and swingy and just perfect for what I wanted this night gown to be. It was definitely the perfect choice.
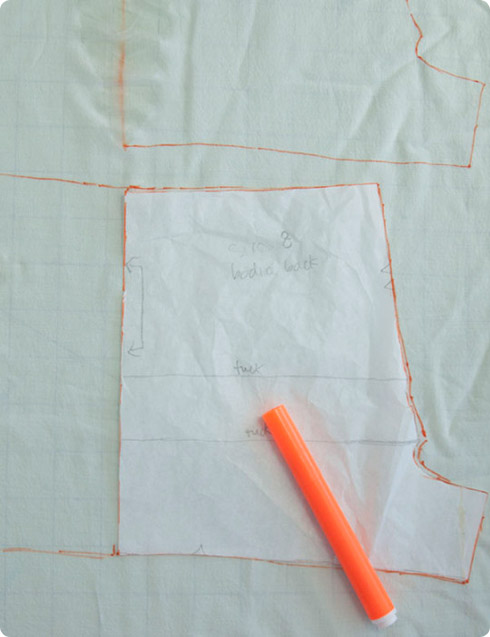
For the lovely two-tone printing, I went for one of my fave printing mediums color magnet. Because I've screwed up sewing garments with color magnet dyed fabric before, I've decided to go through the process with you here so you can avoid the mistakes I've made. Usually when printing the fabric I'm sewing with, I cut the fabric out, print it, and then sew. Not so with color magnet, if you cut out, print and THEN dye, your small pieces will fray and wad and you'll end up with a massive ball of sadness. For colormagnet-garment-sewing happiness, begin first by tracing your pattern pieces (only the ones you plan on printing) onto your fabric. I used a washable magic marker.
Then, without cutting, print only those traced out areas, here I used a homemade floral stencil.
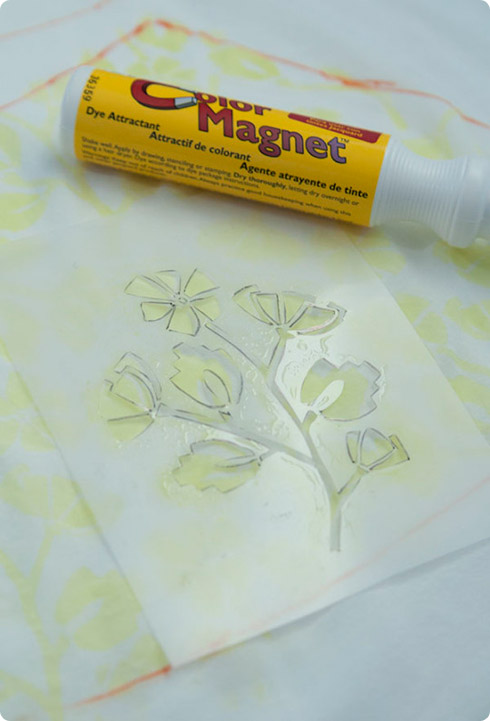
Allow to dry, and then proceed with your dyeing normally. The color magnet will do its magic, and the printed areas will attract more dye and turn out a more saturated deeper color. I'm sorry I don't have pictures of the fabric post dying, I waited so many months to actually dye it, and then so many more to actually sew it that I totally spaced taking a pic. After dying you'll THEN cut, which will be easy because you'll have these beautiful printed areas begging you to cut here! Now you're ready to sew 'er up according to dictates of your whim and fancy.
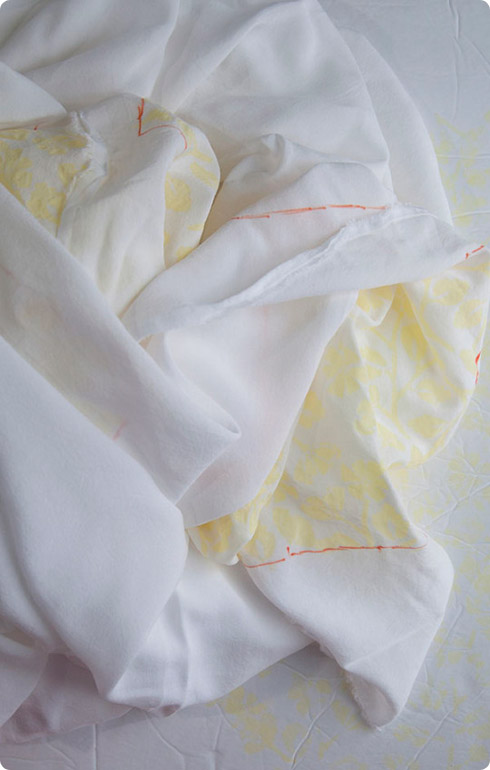
I used Simplicity 3510, which has been a favorite of mine lately (see here and here). The only modification that I made was to add some more fullness to the sleeves.
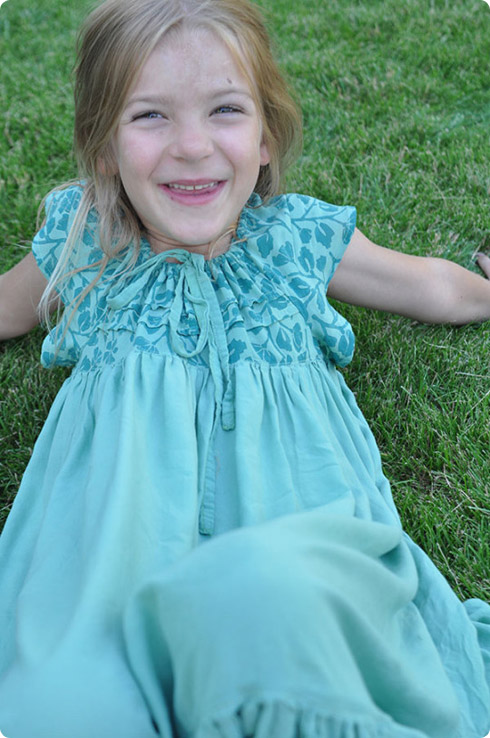
PS JUST SO YOU KNOW, her face isn't dirty, it's peeling. Wouldn't want you to think she hasn't bathed in a week, although that's entirely possible.

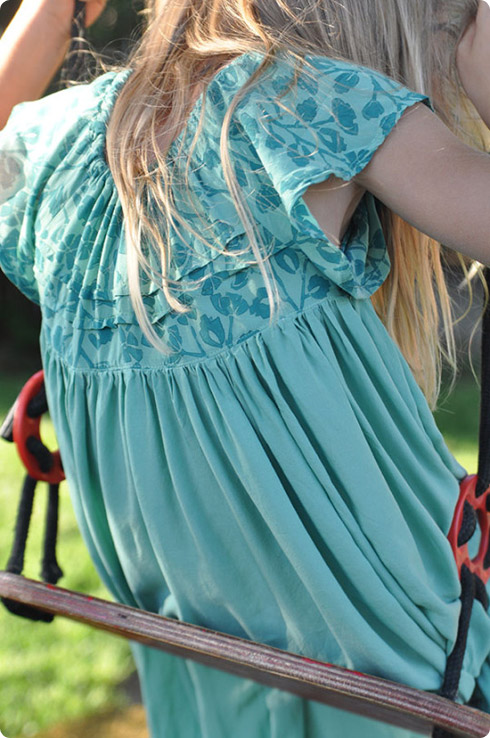

I absolutely love how this night gown turned out, and it is so appealing to me that I am going to make myself one like this. Exactly. Because I guess I need a still need a Ginny Gown to lounge around and feel luxurious and pretty.
This tutorial was provided by Miriam Tribe. https://www.instagram.com/miriamtribe/


